Showing posts with label DIY. Show all posts

Tuesday, December 28, 2010

..Happy Holidays..

I hope everyone had a great Christmas this year.  I sure did.  I am lucky to be surrounded by really loving and awesome friends and family, so it doesn't come as a surprise.  This year Mike and I even put up a tree.  Actually, we dug up a tree so it can be planted back later, and I made and borrowed most of the decorations.  I made some super cute paper mache & wine cork mushrooms and a star for the top...

 
borrowed my Mom's nesting bird..
bought a short string of pine cone shaped lights, and ta da!
 Ain't it cute, obviously this pic was from before Santa came : )
And I thought I would share the Christmas gift that I painted for Mike's grandmother.  It is of his grandparents when they were just teenagers.  I was really happy with the result, and she seemed to really like it!  I hope to do more painting this year, though I always say that after I finish a project, but this time I really mean it
(again).
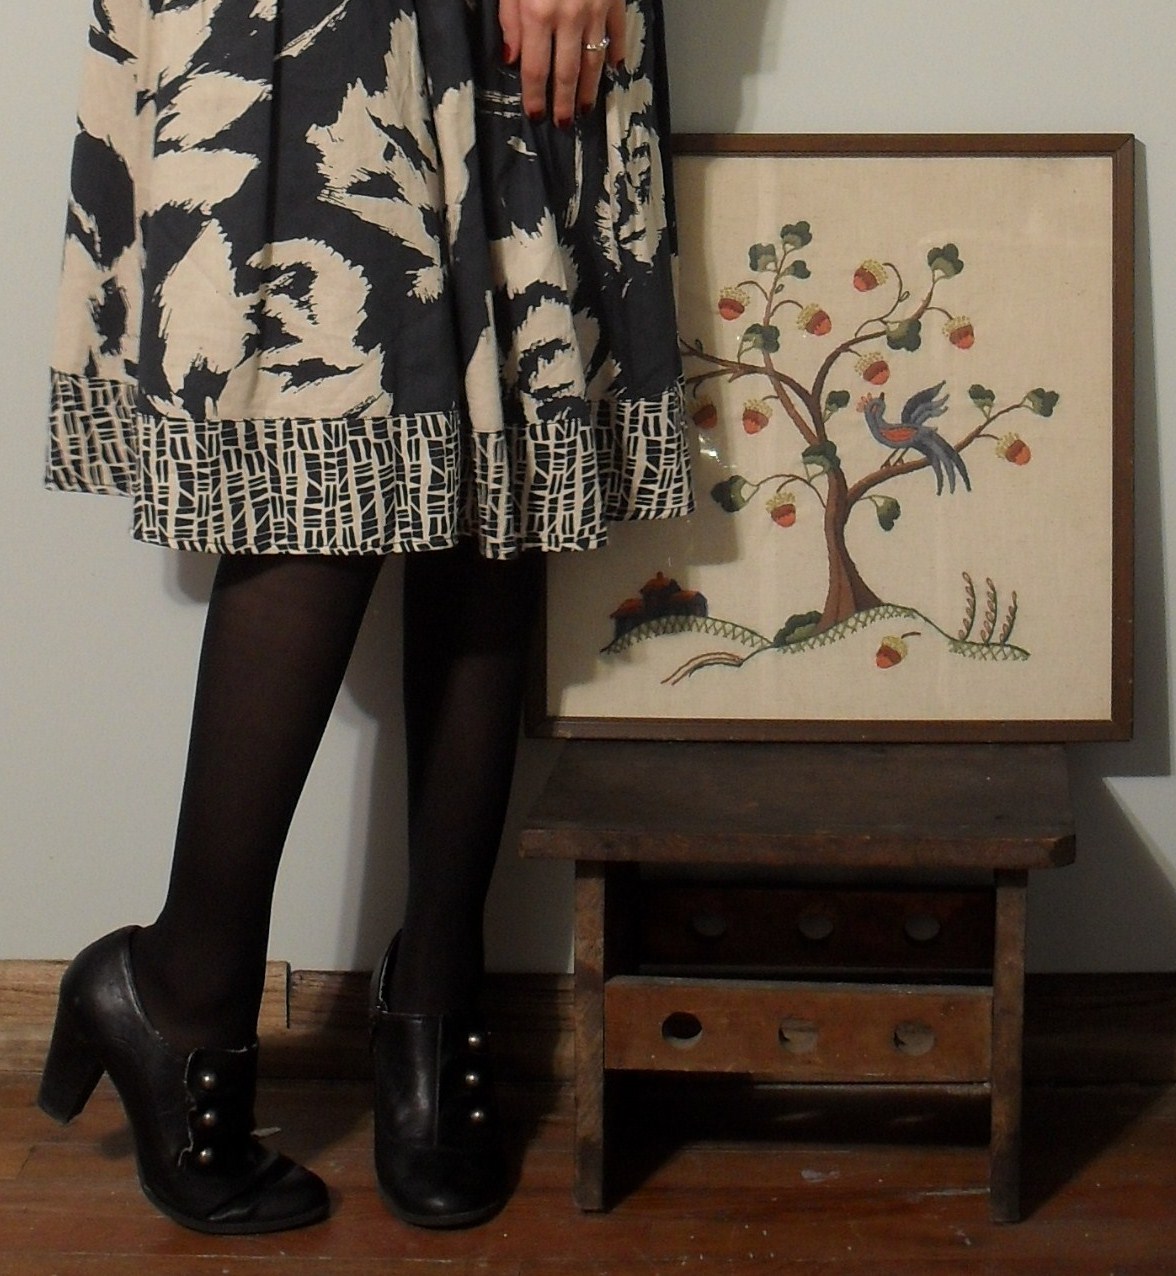
  And here is an outfit post for you're enjoyment that I have been too busy to post for a while.
I can't wait for the new year, don't forget to start thinking up your new year resolutions now!

*sweater&skirt ~ jcpenny
*shirt&shoes ~ target
*tights ~ walmart

Tuesday, November 2, 2010

..busy, busy..

Wow, Lately I have been a bit overwhelmed, but in a good way.  I just recently changed from part-time to full-time at work, which has led to less free time and much earlier bedtimes.  And, lately I have been getting the sewing itch.  I made my husband a halloween costume, did a few little diy accessory projects, and have been finishing and rehatching old sewing projects. Here is a super cute little makeup bag I made out of fabric scraps, for a friend.
...and, also my apologies for being such a slacker on outfit posts lately, and though I don't have much for ya today, here is a little bit to hold you over.
I am gearing up for fall weather and finally getting to pull on some cozy jackets and scarves!
 Ahh, and here are the beginnings of the pencil bag that preceded the makeup bag.  I followed the directions here from the lovely Design*Sponge blog.  I love little quick, easy projects like this, I am all about instant gratification!  It is really easy to adapt to whatever size you want.  My tip for this project is, don't sew the lining too close to the  back edge of the zipper, this will help keep the lining from getting caught in the zipper. 

Friday, July 30, 2010

..do it yourself..

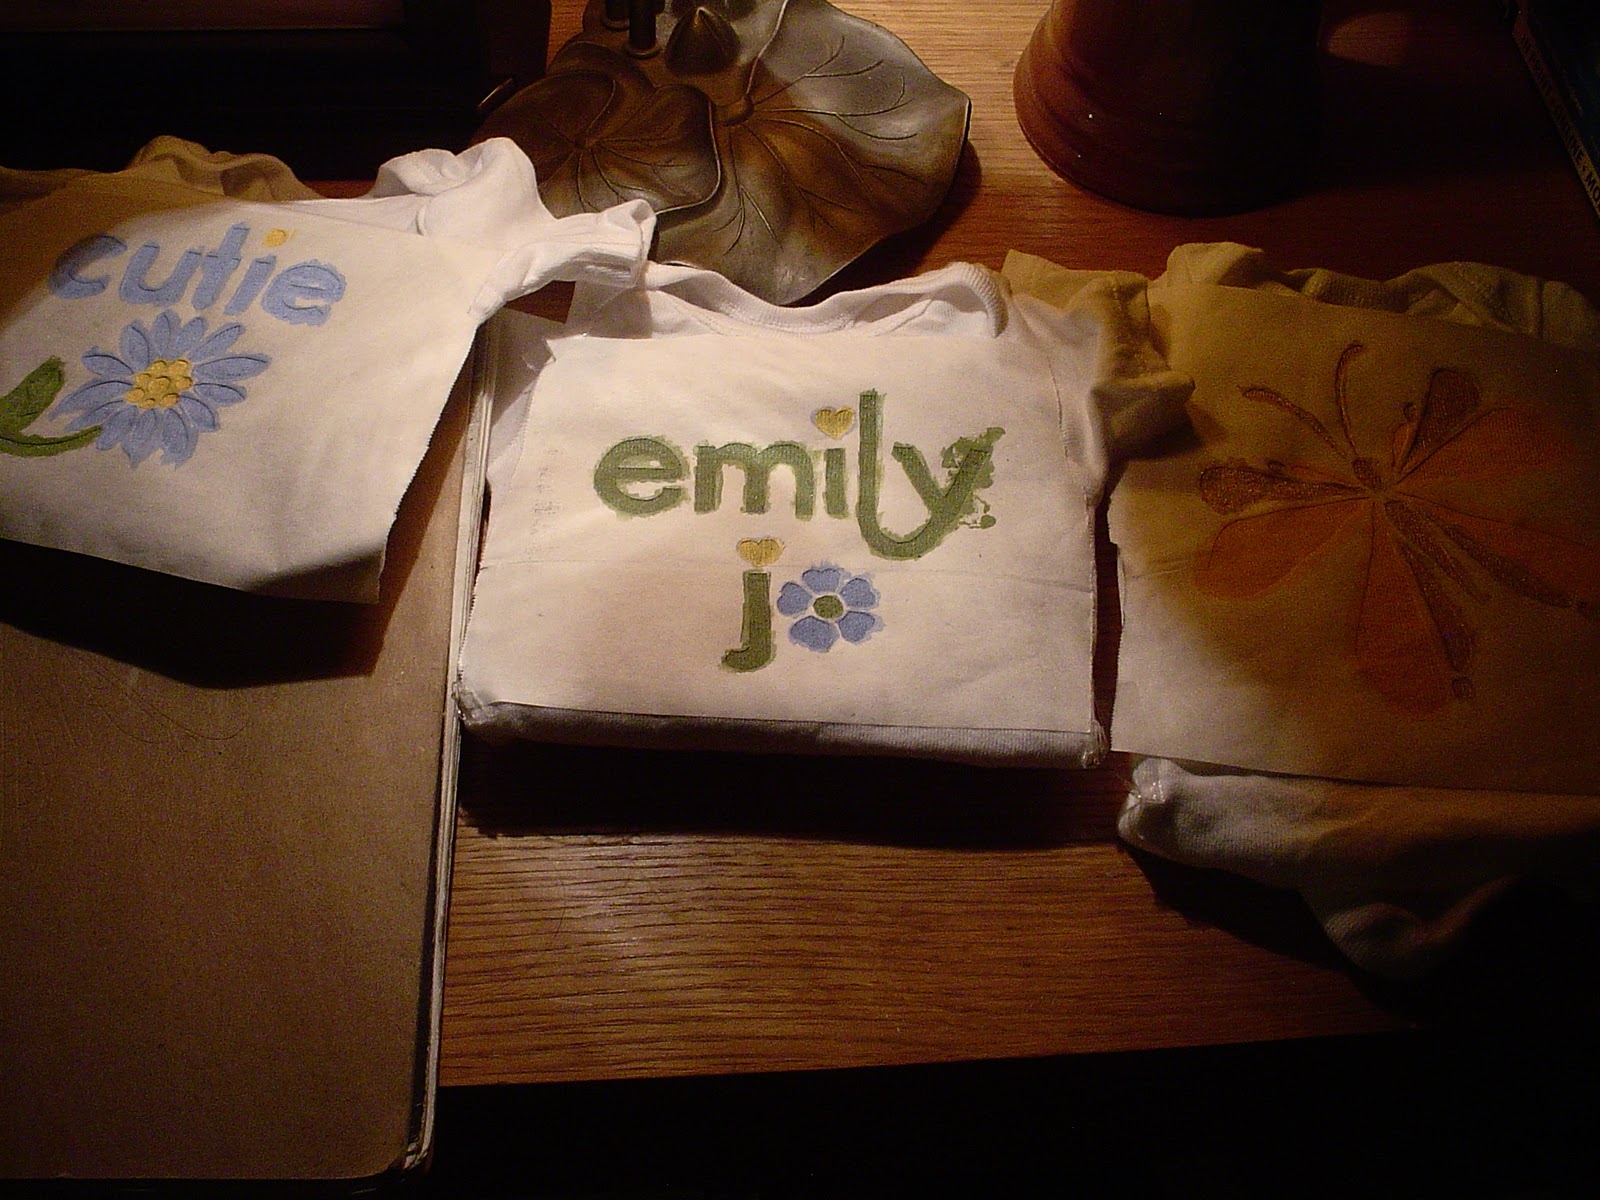
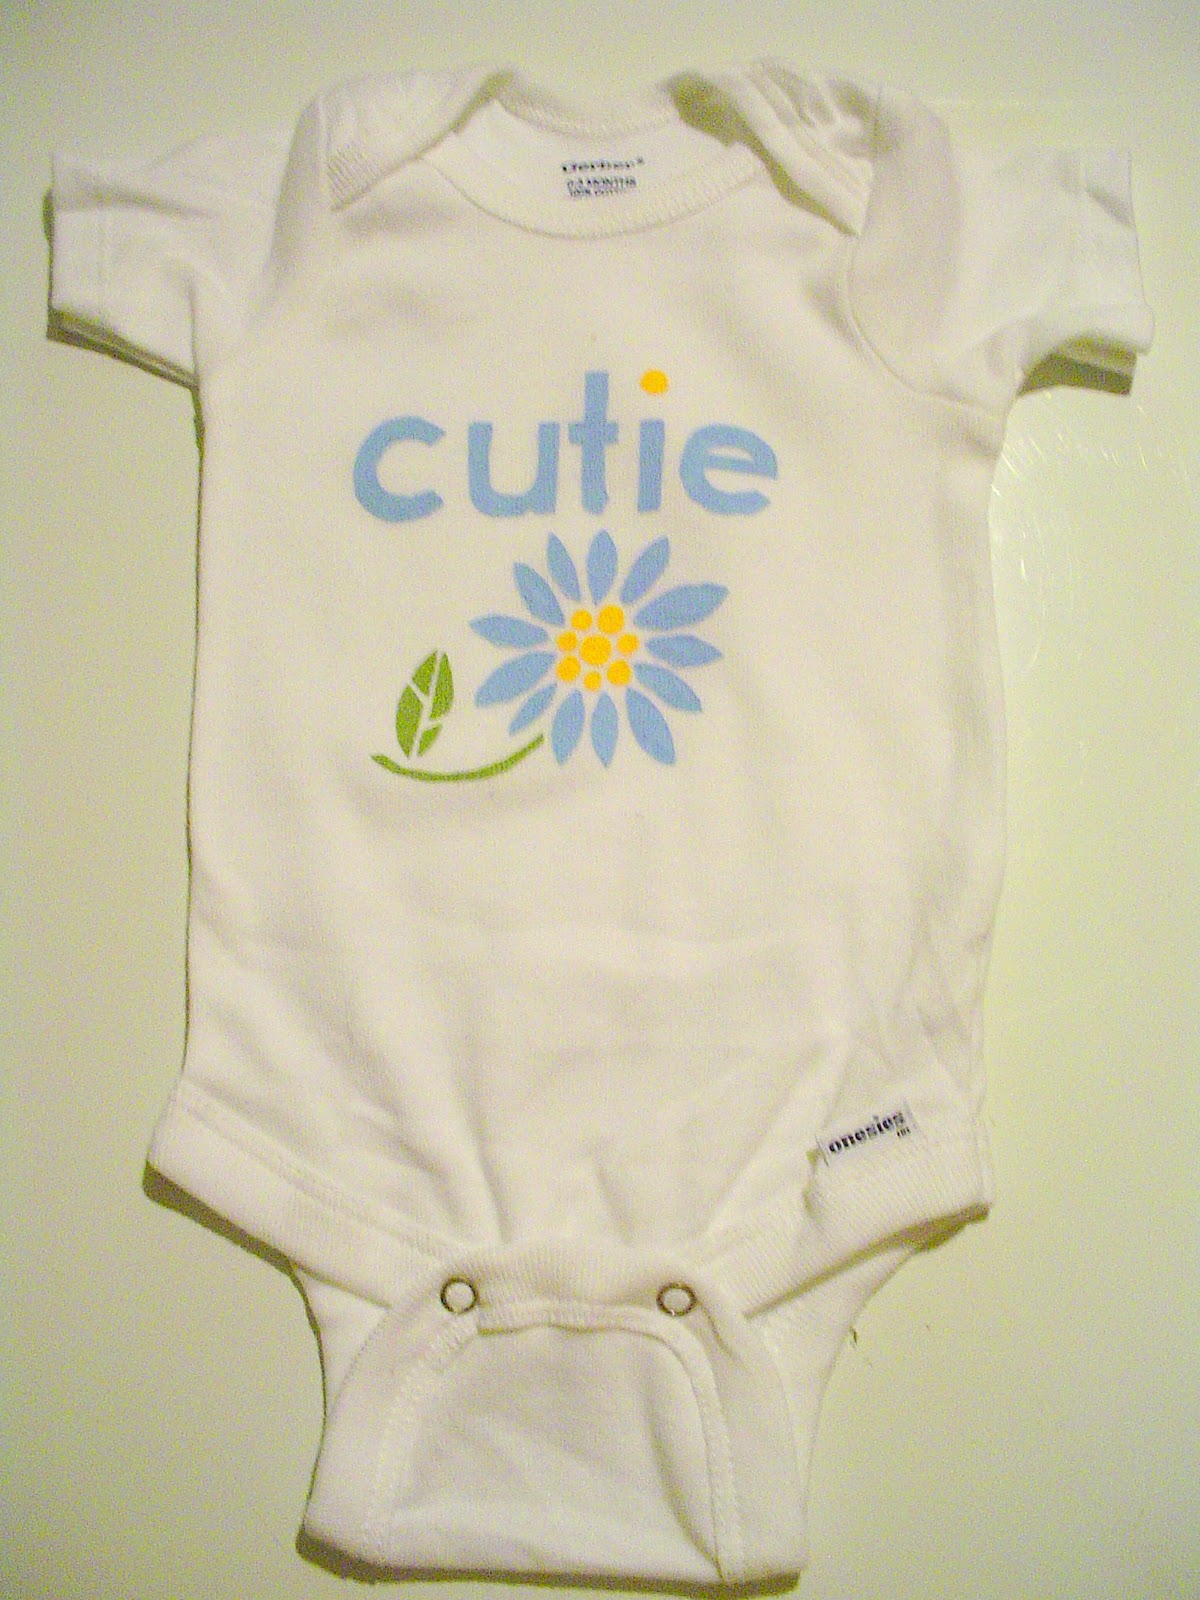
A very long time ago(December 31, 2009 to be exact) I posted an outfit with a shirt on which I had hand painted the Zelda eagle/triforce symbol.  I wrote down the diy instructions and promised a step by step post with pictures the next time I printed something.  Well, here it is! The antiscipation is finally over.  The other day I made some custom designs and put them on some onsies for my friend, Amanda, who is having a baby next month.  They turned out so cute, and I can't wait for little Emily Jo to get here so she can try them on.
Materials:
 clean tee or other garment
 fabric paint (I don't recommend puff paint for this project)
 paint brushes
 freezer paper (w/ plastic backing)
 exacto knife
 iron
 piece of cardboard
 extra clean scrap fabric
 and maybe ruler, chalk, and tape
 1. First you need to get your design onto the freezer paper.  I have used multiple methods to do this and they all work fine. You can draw it directly on, trace it through, or print from your computer.
2. Then tape down your design and cut out the areas that you will be painting. I taped mine to the back of a sketchbook cover. *Be careful to save any interior pieces such as the inner part of the letter 'e' in the design below*
 3. Next you need to get your design aligned where you want it. This is where chalk and a ruler can really come in handy.
 4. Iron the freezer paper without sliding so you don't catch any of your edges, and make sure not to pull or stretch the garment while ironing. Check to make sure than the paper has adhered well to your garment. *Don't forget to put down those inner pieces and press them into place also*
 5. Okay, now you need to put a piece of cardboard in between the layers of fabric so the paint won't leech through, and you can get to painting.  Get a good, solid layer of paint down, but try not to get it too thick, which can make it too stiff. 
 6. Now it is time to be patient. Let the paint dry thoroughly.  Check your paint instructions for the recommended drying time. Sometimes I use a blow-dryer to help speed this process along. 
7. After the paint is totally dry, carefully peel off the freezer paper.
8. The last step is to set it.  Get a piece of clean scrap fabric, put it across the top of your design, and go over it repeatedly with the hot iron for a few minutes.
 Yay!! You are ready to rock your new cool design.  A few tips that I recommend are to wait a couple of days before washing to make sure that everything has totally set and to always turn the garment inside out when you wash it for added longevity.

Wednesday, June 30, 2010

..jean jeanie..

I was looking for a pair of sturdy shorts to wear the other day, and I found myself gravitating toward a pair of nonexistant jean shorts.  I realized that I haven't had a pair of comfy and cool cutoff jean shorts in a really long time!  I wouldn't stand for it!  So, I took one of the six identical Old Navy jeans that I recently inherited from my Grandma Sharon, a pair of scissors, and voila, new pair of shorts.  My cat Mogget was being a camera hog :) What a cutie.

And here are a few other lovely ladies sporting their cute cutoffs..
images via we heart it

Tuesday, March 30, 2010

..inherit goodness..

Spring is finally making its way and everywhere there is an emergence of color.  This is also happening in my wardrobe.  Not that I was evading color, but I do feel like being way brighter than my usual.  I have been wanting to wear this dress which is one of the ones my Granny made and wore. So, after several months of letting it hibernate in my closet, I was finally ready for a major dose of color.  I freaking love this one!  It is so pretty and comfy. 
If you haven't noticed, I am slowly building up my etsy shop!  I am trying to add new things every day so keep checking back, and if you have never explored the whole of Etsy  you really should.  It is full of tons of amazing things.  I actually got the earrings in this post from an etsy seller, SimplyDifferent.

*earrings- SimplyDifferent
*scarf & belt- handmade by me
*cardigan- old navy
*dress- vintage heirloom
* tights- walmart
*shoes- target

Monday, March 15, 2010

..une petite fille..

Ahh, how I once dreamed of traveling to the French countryside.  It is such a beautiful place, one that really feels old.  Of late, I would love to go practically anywhere in Europe, with a few exceptions.  I actually took some French in high school, though there is really little use for it in my region.  Not very practical but I like the language, even if I am not very good at it, or any other foriegn language for that matter.
It wasn't intentional, but after I took these photos I was getting a French vibe looking at them.  I made this skirt last summer.  It is a circle skirt, so it is really fun to spin in circles and not so good on a windy day, I had a few Marilyn moments :)
 
 From the top..
*earrings- local $jewelry shop
*crochet choker- gadzooks circa '97
*jade/aventurine necklace- ERMoriginals etsy shop
*rosary- gift
*cardigan & shirt- old navy
*belt- thrifted
*skirt- handmade by me!
*shoes & purse- target

Tuesday, March 9, 2010

..finding florals for spring..

I really love the embracing of floral, pretty girly things, and nautical for spring.  I have found some really great pieces in my scouring of the thrift stores lately.  I found a calico tie at the bottom of a bin in the men's section of our disabled veteran thrift town a while back, and I finally decided to wear it now that spring is drawing closer.
I also got ambitious this weekend and started a sewing project!  Prompted by the warm weather, I got out a pair of amazing shorts that I got on the same thrifting run.  They have a great fit, but I want to shorten them for a 50's tap short feel.  So far so good, I got most of the way done before I ran out of light.  All I need to do is to pleat in the hem and add the cuff back on.  I probably don't do things the technically correct way when sewing, but it works.  I am always learning. 

*earrings & tie- vintage thrifted
*vest- vintage hand-me-down
*shirt- gift
*pants- old navy
*shoes- vintage liz clairborne