

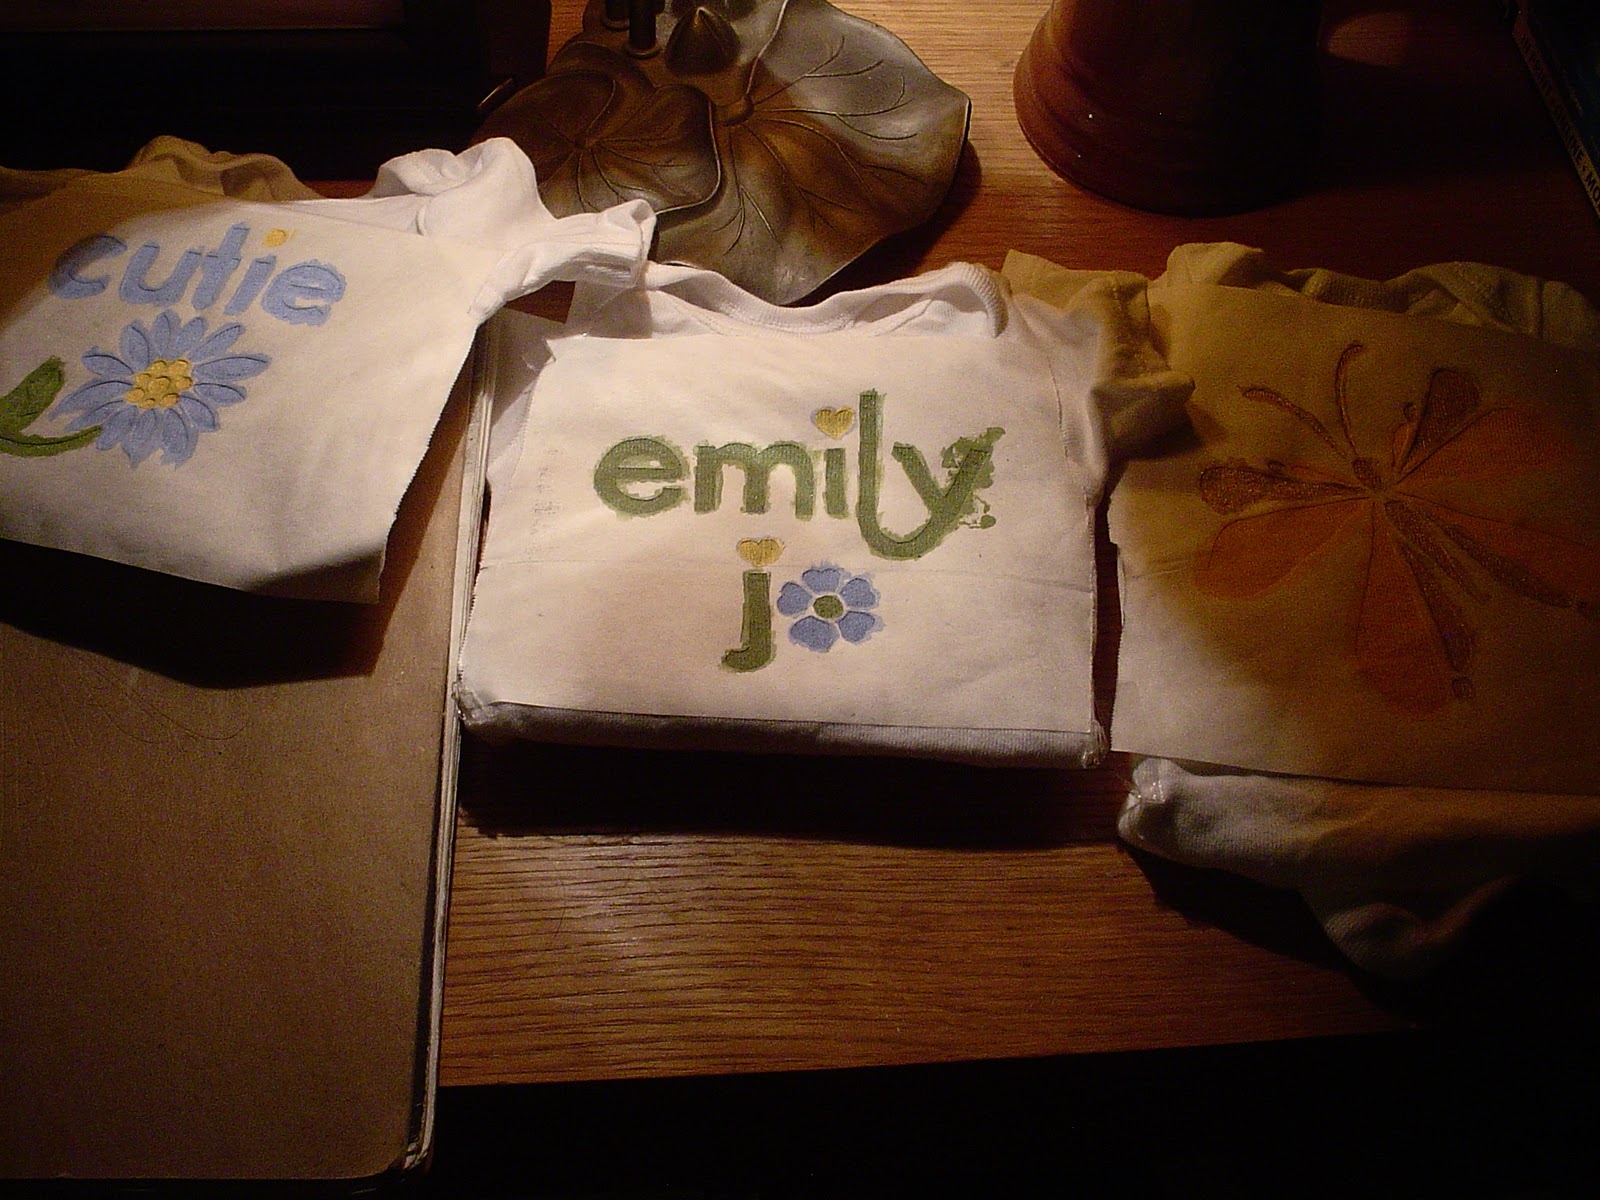
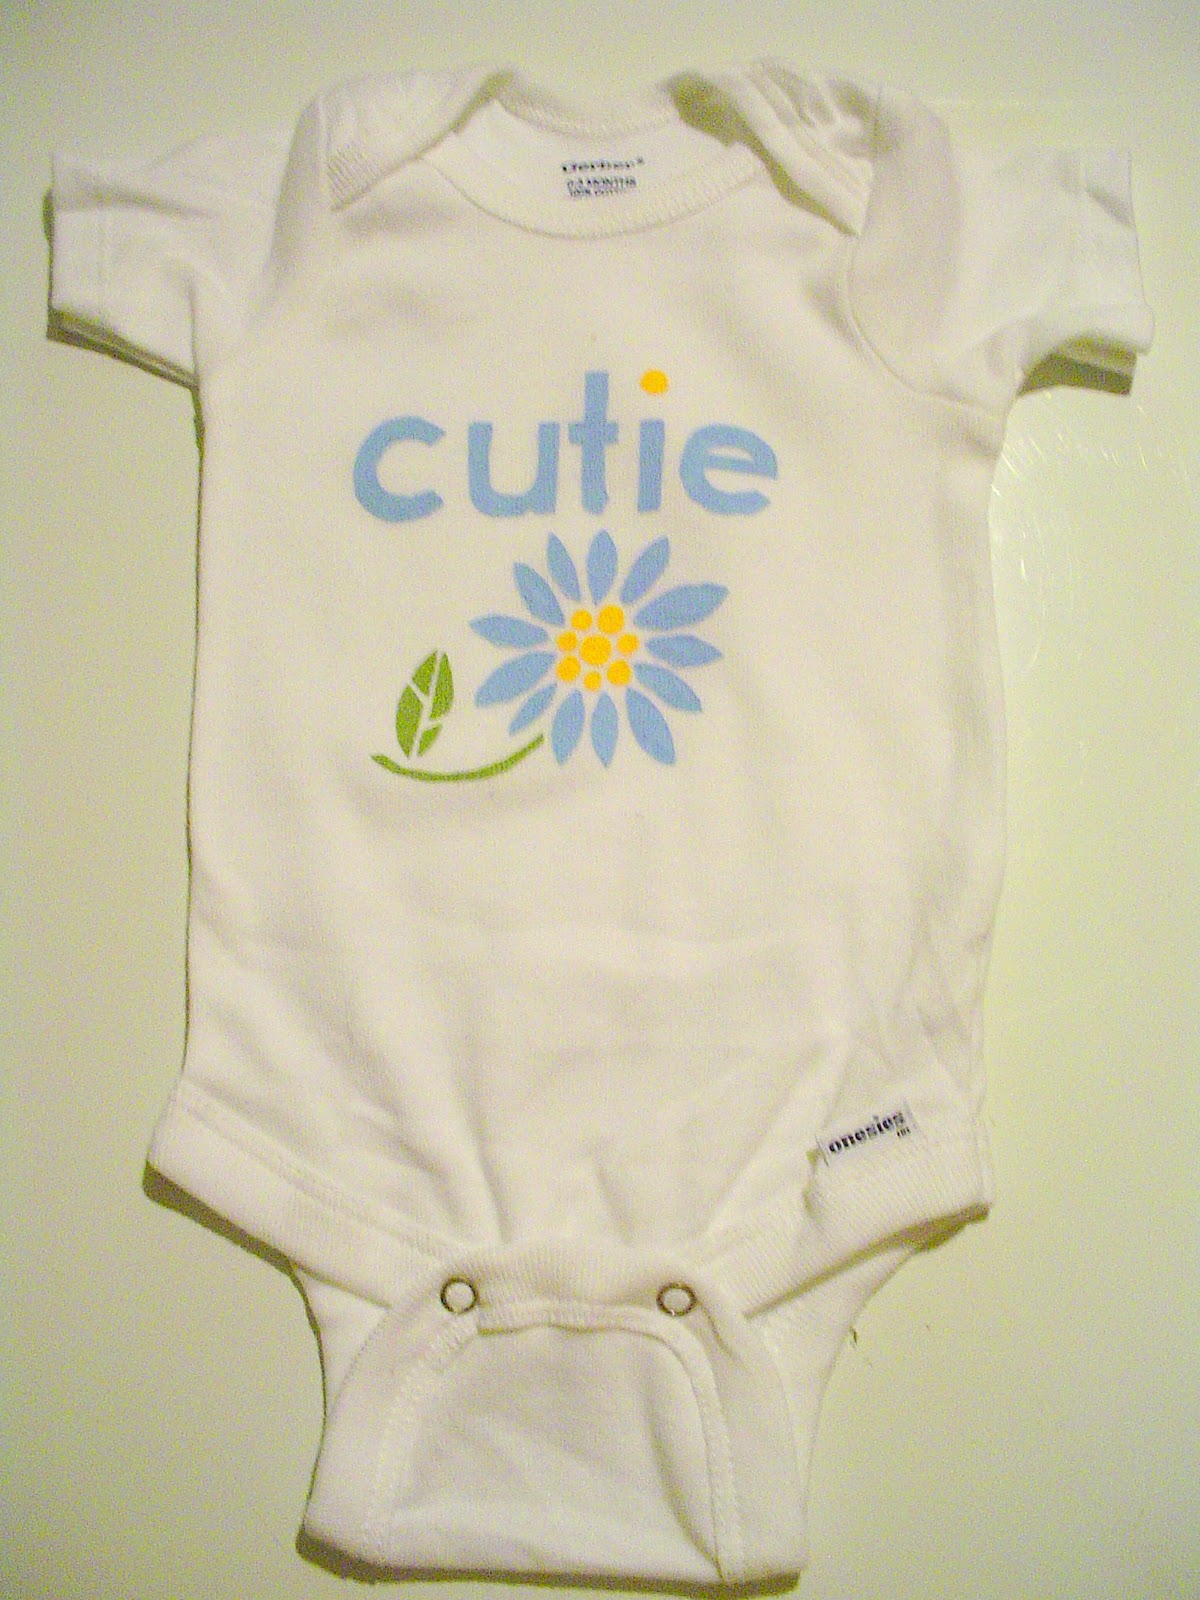
A very long time ago(December 31, 2009 to be exact) I posted an outfit with a shirt on which I had hand painted the Zelda eagle/triforce symbol. I wrote down the diy instructions and promised a step by step post with pictures the next time I printed something. Well, here it is! The antiscipation is finally over. The other day I made some custom designs and put them on some onsies for my friend, Amanda, who is having a baby next month. They turned out so cute, and I can't wait for little Emily Jo to get here so she can try them on.
Materials:
clean tee or other garment
fabric paint (I don't recommend puff paint for this project)
paint brushes
freezer paper (w/ plastic backing)
exacto knife
iron
piece of cardboard
extra clean scrap fabric
and maybe ruler, chalk, and tape
2. Then tape down your design and cut out the areas that you will be painting. I taped mine to the back of a sketchbook cover. *Be careful to save any interior pieces such as the inner part of the letter 'e' in the design below*

4. Iron the freezer paper without sliding so you don't catch any of your edges, and make sure not to pull or stretch the garment while ironing. Check to make sure than the paper has adhered well to your garment. *Don't forget to put down those inner pieces and press them into place also*


8. The last step is to set it. Get a piece of clean scrap fabric, put it across the top of your design, and go over it repeatedly with the hot iron for a few minutes.

Yay!! You are ready to rock your new cool design. A few tips that I recommend are to wait a couple of days before washing to make sure that everything has totally set and to always turn the garment inside out when you wash it for added longevity.


No comments:
Post a Comment